Top 7 Tips on Filming with a Drone
Previously, for aerial videography, it was enough to just rise 200-300 meters into the air, lower the camera down and shoot something from a bird’s eye view, and you already have a lot of enthusiastic comments, likes, shares, and recognition.
Now the video industry has grown and become more demanding, so a clip from a skyscraper is no longer surprising.
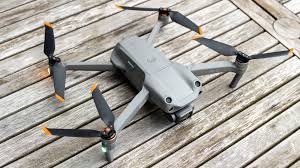
The problem was solved by the entry of drones with cameras into the mass market. If you want to boast with a wonderful shooting, you need to choose the best drone, learn different flight techniques, develop creative thinking, and practice a lot. And, of course, know some tricks to make it even more exciting.
Therefore, today we will share a few tips to make your videos as cinematic as possible.
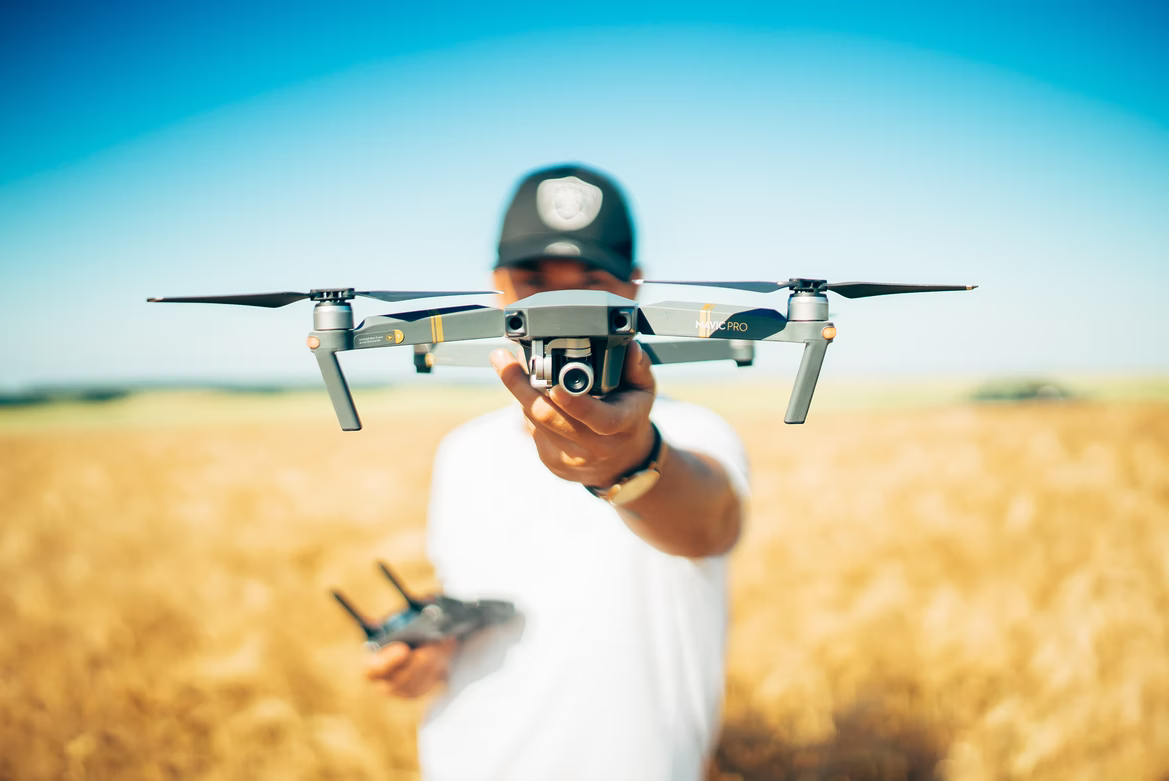
Table of Contents
7 Powerful Tips To Use While Shooting With A Quadcopter
1. Choose The Right Shooting Time
Since the sensors of most modern drones don’t yet have an impressive dynamic range of film cameras, it is crucial to shoot at the right time of day. This means that you need to shoot during the golden hours – one hour after sunrise and one hour before sunset. In this case, you will have the best natural light and get the most beautiful picture.
2. Explore The Location Before Flying
Estimate the breadth of the space, choose an object or view that you are going to show in the video. Discover information about other areas in AirMap. Think about how you can use the foreground. Determine from the compass exactly where and what time the sun rises and sets. This will give you an understanding of how the light will fall. Some locations reveal their beauty as much as possible, only in the rising or setting sun.
3. Check The Weather Conditions Before Shooting
Always use an anemometer to see if the wind is over 40 kilometers per hour, and never take the drone off from the ground – always from the hand. It’s best to fly upwind so that even in the worst case, the drone keeps moving in your direction. In case of rain, avoid flying at all, not so much to protect the engines as for the camera lens, as water droplets falling on the lens will make the whole video completely useless.
Moreover, prepare carefully for shooting in the winter. Remember that flying in the winter will drain the drone’s battery noticeably faster than in high temperatures. So be prepared for short flight times – 15 minutes on average. Check out the drone specification to find out the temperature range for each specific device. And always keep the batteries warm before flying.
4. Be Sure To Use Nd Filters
Basically, these are sunglasses for your camera – they limit the amount of light entering your lens. Thus, ND filters allow you to keep the shutter speed in the required range, whatever frame rate you use. This means you’ll get the most natural motion blur effect in the frame, making your video much more cinematic. It will also help to avoid slight shaking of the picture, which happens at too short shutter speeds from the vibration of the drone.
5. Think Over The Scenario In Advance
Think about what you want to film before the flight, not after. Some drone pilots prefer to turn on the video mode from the moment of take-off and until landing. But without a specific idea or shooting scenario, you will get a lot of unnecessary material that will be difficult to edit. Never try to use all your footage – creativity lies in making the best shots.
On the other hand, you may face a situation when there is not a single good shot. For example, you flew around a beautiful lighthouse, but during the flight, the wind changed abruptly, or you made a mistake in control, the drone’s camera twitched, the smoothness of the shooting was lost, and now the footage looks ugly. Don’t rush to throw out the material, try to fix it on editing with the help of any video editor or free video stabilizer.
The DJI drones of the Mavic Mini series easily enable simple video editing in their own applications. So if the camera jerked in flight, speed up the playback. So any jerk will become invisible.
And be sure to add music to the video. Ideally, every turn of the drone should maintain the rhythm of the melody. This will help create an additional mood. For example, a drone traverses a mountain ridge and then overlooks a vast valley, lake, or sea. Try to coincide with a slowdown or pause in the music. This will give the plot an extra emotional depth.
6. Make All Movements Soft And Slow
It will also add a cinematic look to your footage. The most common mistake novice pilots make is flying too fast. Don’t do that. For sure, there are situations when you need to fly fast, but, firstly, you must know why you are doing this, and secondly, be much more careful not to fly into some kind of obstacle or people.
7. Experiment with Angles
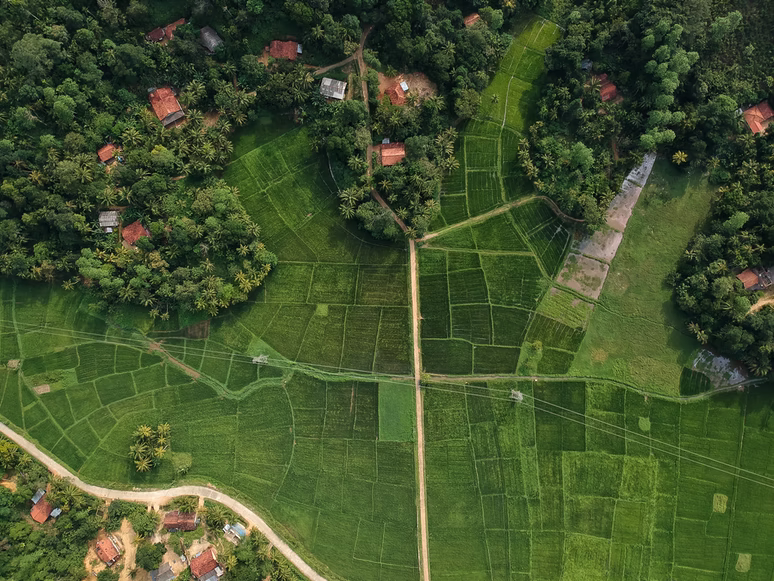
- Flip the perspective. Drones allow you to shoot from angles that no camera can provide – from above! Shooting straight down can give great footage as you’ll see the landscape as it is. You can see relief and formations that you don’t even know about.
- Look for symmetry. From a bird’s eye view, you can see such beauty that cannot be seen from the ground. A park or city square can hide incredibly symmetrical shapes.
- Look for contrasting colors. People love bright objects because the rich hues look amazing together. Greater contrast will give a more expressive frame – play with highlights and shadows, and also try to find multi-colored locations with different textures: water and sand, greenery and asphalt, and so on.
- Look for repetition in objects. Carefully assembled objects can create precise lines as if from a template. Places such as warehouses or train stations can have a huge number of the same objects, even ordinary neighbors’ real estate can line up in interesting rows. A truly interesting shot.
- Catch shadows. Shadows can be the key to awakening the imagination. As the sun sets, just before sunset, shadows stretch into giant silhouettes, sharing some interesting stories on landscape photography.
Try using Google Earth to search for a shooting location so you can get an idea of what kind of videos you want to shoot. Look at the works of other videographers taken in the same location. This will help you visualize the scene before you take the drone into the air.
Wrap Up
Several years ago, drone videography became a hot topic. And although it is more difficult to shoot video with this gadget than with a traditional camera, it is also more interesting.
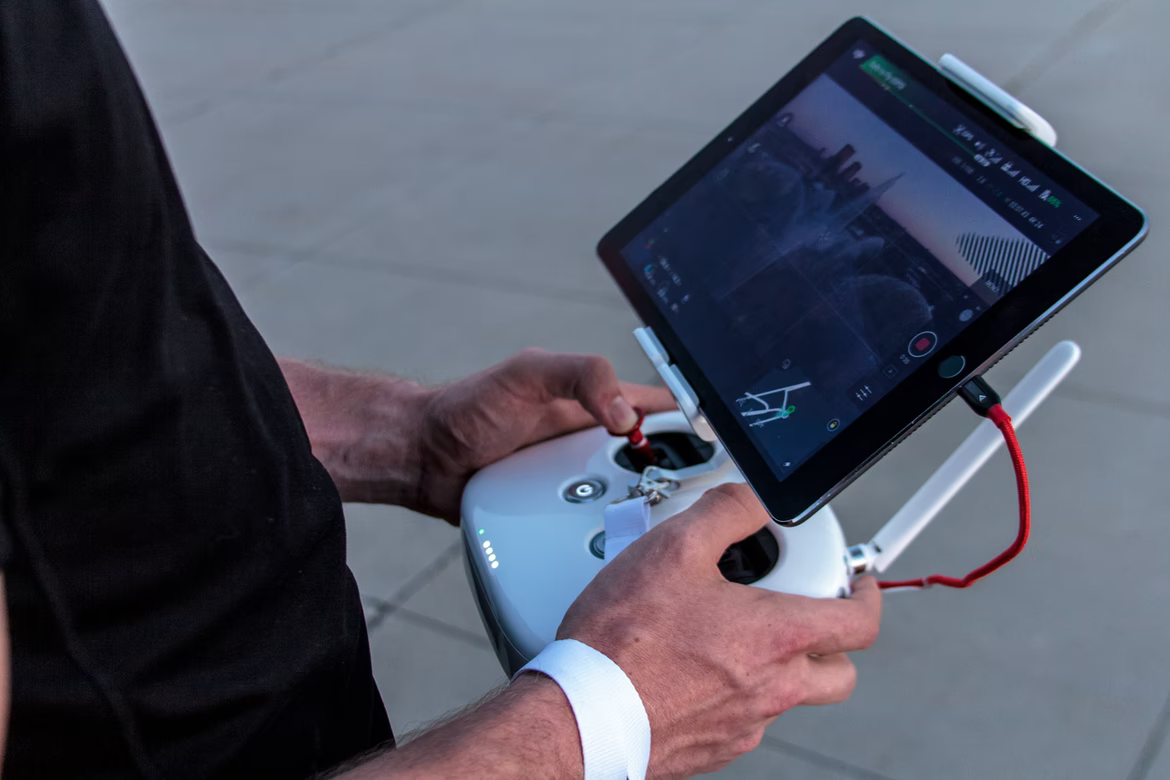
As soon as you buy your first drone, be sure to study it thoroughly. Learn how to start it, control and how to activate the emergency shutdown function. After launching the drone, don’t hurry to immediately send it to the clouds. First, lift the drone 5-10 meters up so that it doesn’t disappear from your field of vision. See how steadily the device hovers in the air, try the control buttons. In general, learn by scientific trial and error.
However, learning to use a drone is not enough. Master any video editing software to create truly immersive videos. You can do nothing today without proper editing. Well, if you are too lazy to study apps yourself, entrust it to outsource video editing.
And of course, don’t forget to follow our advice so that the shooting turns out to be not only an interesting activity but also your calling.
Follow TechWaver for more!